Sunday, May 1, 2011

A real garden

someday I will have a real garden. I am hoping that when we move at the end of the summer our new home it will be in an area that is better for growing stuff. I've been trying to grow produce for the last 3 years, but I just have not had much luck.
Fist I blamed it on the fact that we lived in the desert and at the house we currently live in I blame it on the fact that 6" into the ground it is all just rock. I have a feeling that no matter where we live I will always find a reason that I can't grow food. However, I have made some progress. While living in our current home I have been able to plant several bushes and flowers and they seem to be doing very well. I am so happy with them and it gives me hope that someday this will be me...


...A cute, happy, thin, woman carrying the bounty of her garden home to enjoy for healthy meals and snacks. (Picture found on the sunset website)

I have been thinking about this mostly because it is expensive to buy healthy produce and to keep it on hand and fresh. Also we had a farmer who grew up in Idaho talk to us at a church meeting and he had a lot of good very random gardening advice that I wrote down in my phone and wanted to jot it down here so I don't loose it before I can use it.

Planting


  • If you buy a starter and transfer it to another pot, make sure the new pot is at least 3 times the size of the old one so it has room to grow.

  • Don't buy a big starter, it won't take off as fast as a little one.

  • Plant potatoes a foot apart

  • Plant carrots 10" apart

  • Any non root plant, plant 6" down

  • Any root plant, plant 12" down

Soil perfection


  • Amend is a great brand of soil additive

  • Don't use potting soil on it's own. Instead mix it with dirt, and soil additive.

  • If you plant with seeds, use quick start when it sprouts

  • After sprouting use fertilizer or manure once a week.

  • use 20/20/20 fertilizer or manure between when it sprouts and when it blossoms

  • Use 60/20/30 fertilizer after it blossoms

  • But DON'T over fertilize fruit trees or berries. Just fertilize the heck out of them when the first bud comes, then leave it alone!

Planting boxes


  • Do not paint the inside of the box

  • Do not use pressure treated wood, use redwood or bricks for your planter boxes.

  • You will want there to be feet on your boxes to prevent erosion and help with drainage.

So what do I hope to be able to plant? and what will I use it for?


  • Celery-salads, Ants on a log,

  • spinach-salads, I did grow this successfully already, but they were so small I never picked them until it was too late :( lesson learned)

  • zucchini- spaghetti squash, salads, to shred and hide in food

  • Potatoes

  • Tomatoes-spaghetti sauce, salsa, salads and sandwiches

  • peppers-salsa

  • lettuce- salads, sandwiches

  • Cauliflower- side dishes, cauliflower rice, snacking

  • Broccoli- side dishes, snacking

I think I should probably start small, and no try to tackle all this in the same year. But I know I am going to need some good gardening advise. Does anyone have a favorite gardening book or website they like to go to?

Saturday, April 30, 2011

Minnie Mouse out fit

We went to Disneyland this week for my oldest daughter's birthday. When we went a few years ago, we saw a little girl in the tea cup line next to us wearing a pillowcase dress made out of red and white polk-a-dot material. It was so cute because she looked like a modern Minnie Mouse. So I wanted to do the same thing for my girls this trip. But my sewing machine was broken, so I figured I would just get a simple pattern and try sewing it by hand. I found this one for $1.99 and it went great.
I cut out 2 sets of pieces for a size 4. I made the first one the way the pattern said except I lined the bias tape right up to the edges on the neck and arm holes. It fit my 2 year old great. But I could tell that even with putting the bias tape 3/4" in on the neck and arm holes it would still not fit over the older one's head. (She has big poofy curly hair :) So I made some alteration to widen the opening for the head. And I also made the side seems a little smaller since she is a size 5 now.
Here is what I did to widen the neck hole.


  1. Cut the back/top pattern piece in 1/2

  2. Use bias tape on the raw edges that you just cut.

  3. use some 1/4" elastic to make a button hole at the top. When you add bias tape around the neckline it will cover any extra elastic and stitches you make here.

  4. Sew a button on the other side of the opening.

  5. continue with the pattern as indicated.

  6. When sewing the bias tape for the neck line, begin with the tape at one edge of the opening and end at the other instead of beginning at the shoulder seam like suggested in the pattern.


Here is the finished product. I think they are ADORABLE and I love them so much. And we will probably wear them again for 4th of July with some blue jean shorts or something.

Monday, April 18, 2011

eagle scout cookies & Baptism cookies

A boy in my Sunday school class earned his eagle scout award last month. So I made cookies for him so we could all celebrate with him in class. They turned out great. (Sorry the pic is sideways.)


This is how I did it.

First I cut the cookies out with a round cookie cutter. Before they got cooked, I make a paper template of an eagle and lightly traced it into the dough with a paring knife. Make sure that you don't go all the way through the cookie dough to the pan. Now put the cookies in the oven for the time indicated on the recipe.


Next use brown royal frosting to pipe along the marks you made with the paring knife. After that has set for a little while, fill in the center of the eagle with runny royal icing (flood frosting)

After that I did the stripes. I was worried I would make them all wonky, so I used some edible markers to make some lines ahead of time and they were a nice guide. But you don't have to do that. I filled one side in red, the other blue and left the middle blank. Once they were dry, I put them in bags and everyone loved them.


Baptism cookies-

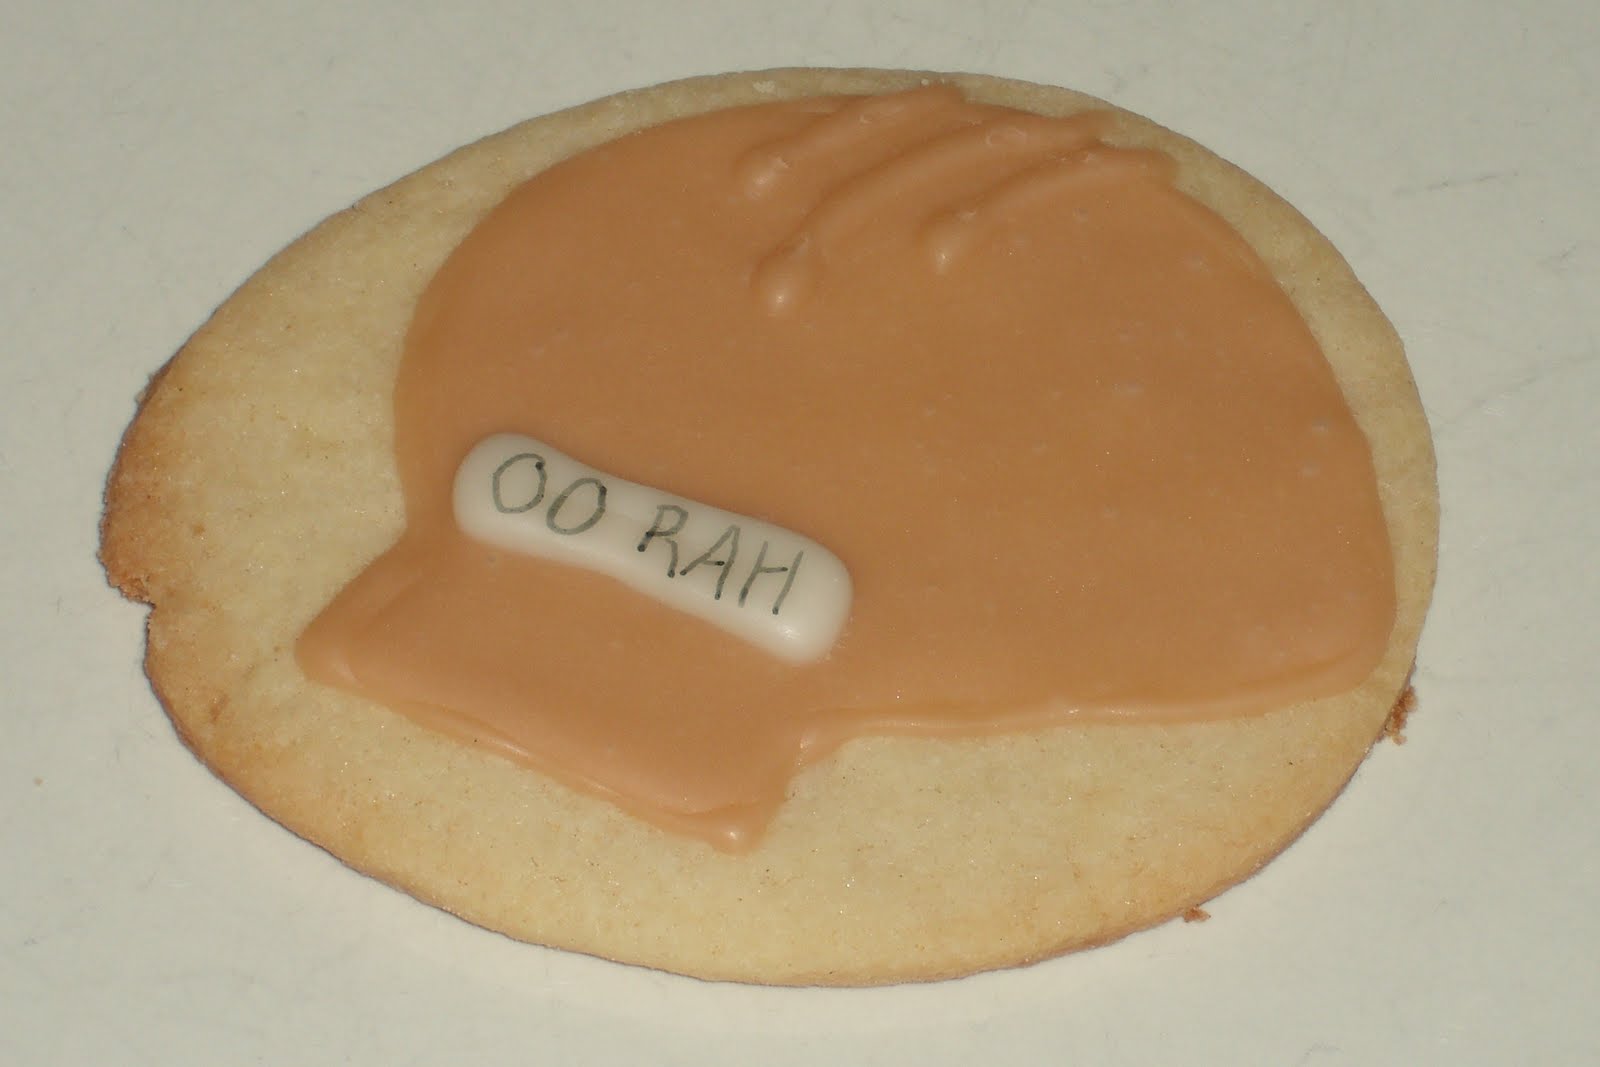
Another cookie cookie that I did recently went unphotographed but was cute. A different boy in my class got baptized and he asked one of the other students to baptize him. (I know, my students are awesome!) They are both Mexican, so I did gingerbread men with little white jumpsuits. They were cute, but not as yummy as they could have been because with my time constraints I had to use frosting from the store.

Tuesday, April 12, 2011

The Primal Blueprint Cookbook review


My husband his been very interested in the Primal Blueprint by Mark Sisson. So I got the cookbook and tried out some of the recipes.

We have tried the:

Mayonnaise-It didn't turn out as we would have hoped

Root vegetable chips- A lot of work, we tried both frying and baking them. I think I'll just buy them next time.

Nut Crackers- My youngest and I eat them, but they were expensive to make because of the almond flour.

Summer squash noodles- we thought they were fine and will be using 1/2 regular noodles and 1/2 zucchini noodles the next time we make spaghetti.

Almond crusted poached eggs- cooked more quickly than I expected, yummy, but made a lot of dirty dishes.

Turkey Kebabs- We all liked these. I think in the future we will not bother with the kebabs and just cook them up like a patty/burger. the girls treated them like chicken nuggets.


My overall opinion of the cookbook is that it is for people who have the time to cook a lot and who enjoy cooking a lot. But it's not so much for the average household cook trying to get dinner on the table. It's no wonder they also came out with a second cookbook Primal Blueprint Quick and Easy Meals. If that one ever comes into our library system I will probably borrow it, but as for this book, I will try to sell it online after I cook all the recipes I'm interested in.

Sunday, March 6, 2011

Sea Bee cookies:
I was asked this week to make some cookies for the single sailors my husband works with. I think they are adorable and don't want to forget the design for future reference.


I made a template for the bee and cut the cookies out with a paring knife. I cut the diamonds out with a template and large knife and the hats are made with egg cookie cutters.

Thursday, February 3, 2011

ikea table and chairs stained

While my sister-in-law was in town she helped me tackle some projects that would have been hard to do on my own. Here is one of them. We stained an IKEA chair and Table set my youngest got for Christmas.


Here is what we did
Day 1
Sand
tack
stain
Day 2
stain
Day 3
Sand
tack
poly
Day 4
sand
tack
poly


We sprayed the table top and chair seats with chalk board paint so the kids can draw anytime they want.

Here is what the set looks like without stain or chalkboard paint.

Tuesday, February 1, 2011

Flounce skirt pattern making

Last week I added a hem to a dress. It is called a flounce. Here's what I used to do it.

You'll need:

  • Measuring Tape
  • Yarn
  • marker
  • pen
  • pins
  • tape
  • scissors
  • pattern making paper (I use packing paper)
  • fabric (I can't remember if I got 1/4 or 1/2, whatever it was, I had plenty)

You will probably need a quick Geometry Recap to do this on your own skirt.

Smart people might be able to look at the diagram/equations and know how to do it. For the rest of us, here are some step by step directions to follow. I put my measurements in parentheses.

  1. Measure the circumference of the hem. -Lay the dress flat and measure the length of the hem from one side to the other. This is equal to 1/2 of the circumference of the skirt. (33"). Multiply it by 2 (66") to get the whole circumference.
  2. divide the circumference by 3.14 or pi to get the diameter (21")
  3. Divide the diameter by 2 to get the radius (10.5")
  4. Make a string pen compass- Tape some yarn around a pen (Pictured below) and make a mark from the pen to the length of your radius. (10.5") Tie a knot.
  5. Add the length of your flounce to the radius. I added 6" (16.5") and I think I could have added up to 9" if I wanted to. Also, don't forget that about 1-2" will be used as a seam allowance and hem.
  6. Make a mark on your string pen at the new radius length. Tie a knot over the mark.
  7. Flatten out your pattern making paper. If it is not long enough, just tape a few sheets together.
  8. fold it in 1/2 and make a crease down the fold.
  9. Hold the first knot of your string pen at the base of the fold and use the pen like a compass to make a semi-circle
  10. Double check the length with a tape measure to make sure that it is the same all the way around. If it is not, make the correct length in about 8 different places around the semi-circle and go back around with your string pen making sure to hit those points.
  11. Repeat steps 10 and 11 for the second knot in the string,
  12. Lay your measuring tape to be parallel with the bottom of the paper and draw a line across it. This is your grain line. The pattern needs to be cut on the bias so it will lay correctly.
  13. Cut your pattern out of the paper. It should look like this.
  14. pin your pattern to your fabric making sure the grain lines match up with the directions the threads are going in the fabric.
  15. cut out the fabric
  16. sew the side seems
  17. fold over the top edge about a 1/4" and press all around. (This will help make sure the fabric doesn't unravel in the wash.
  18. Pin the fabric to the existing skirt and make any side seem alterations that might be necessary if it doesn't fit well.
  19. Sew the flounce to the skirt
  20. fold up the bottom edge if the fabric about a 1/4", press and fold over again, press and pin.
  21. Sew the hem into place and you are done.
This is a picture my daughter took of the dress, you can sort of see the way the flounce ruffles. No that is not my real tummy (it's a pillow). And no, I'm not making any announcements.